Rooster Booster 12-volt
free range friendly poultry lighting

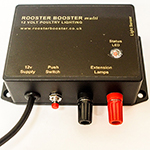
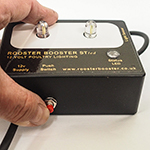
Setting up your Rooster Booster lighting system

Easy to install and set up

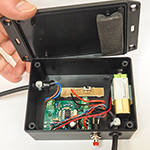
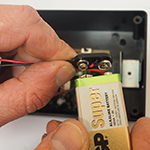
The Rooster Booster is supplied with comprehensive instructions on how to install it in your chicken house but the following is a simple guide to show how easy it is to set up.

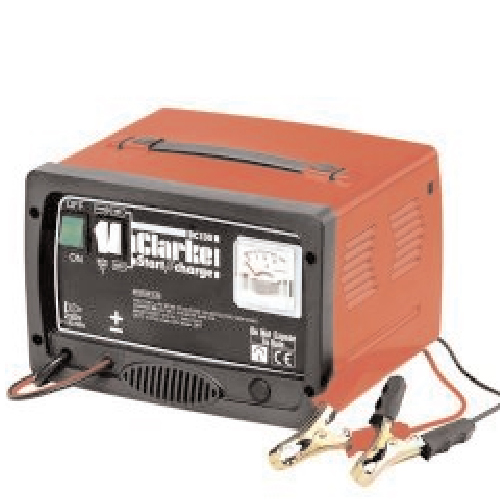
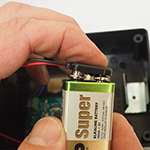
Your Rooster Booster will need to be connected to a 12-Volt supply. Try and install before mid day if possible and Allow 48 hours for the timer to synchronise with day & night.

Installing the Rooster Booster STled and multi in Normal Mode

The Rooster Booster is delivered set to “Normal” mode. i.e. light provided morning and evening when applicable (When the daylight hours exceed 12 hours the lamp will not come on at night.)

1

Mount controller in your hen house.

2

If a multi controller connect the lamps to the lamp terminals.

3

Mount the sensor using the clip so it can monitor outside light conditions.

4

Re connect the power leads. Red + Positive Black - Negative.

5

Maintain the battery charge.

Setting the Rooster Booster STled and multi in Natural Dusk Mode

Follow these simple instructions to set-up the Rooster Booster in “Natural Dusk” mode. If you go wrong start from the beginning again. If you want to set the Rooster Booster back to “Normal” mode carry out the procedure missing out steps 6 and 8.

1

Disconnect the power.

2

Remove the lid.

3

Disconnect the back-up battery.

4

Direct the sensor towards the light.

5

Hold in the push button.

6

Reconnect the power.

7

The LED will flash four times

8

Release the button.

9

Reconnect the back-up battery.

10

Refit the lid.